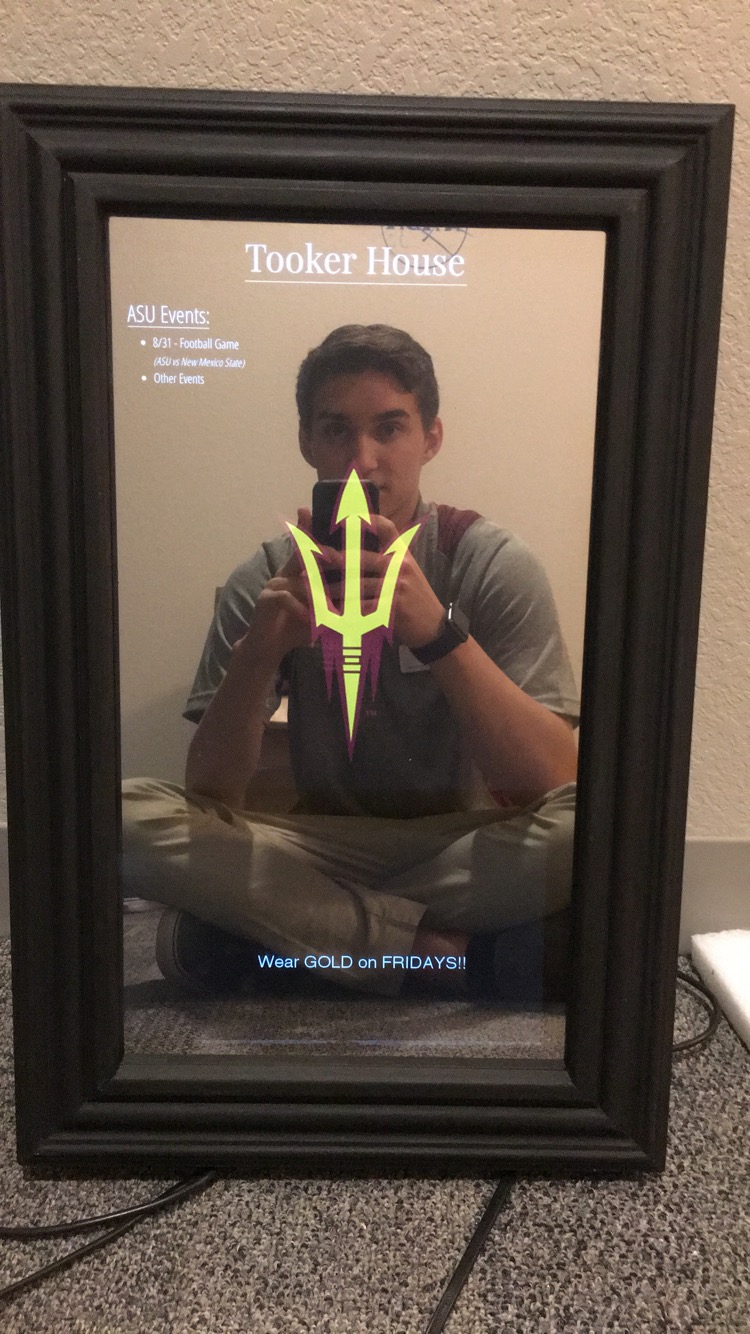
Smart Mirror
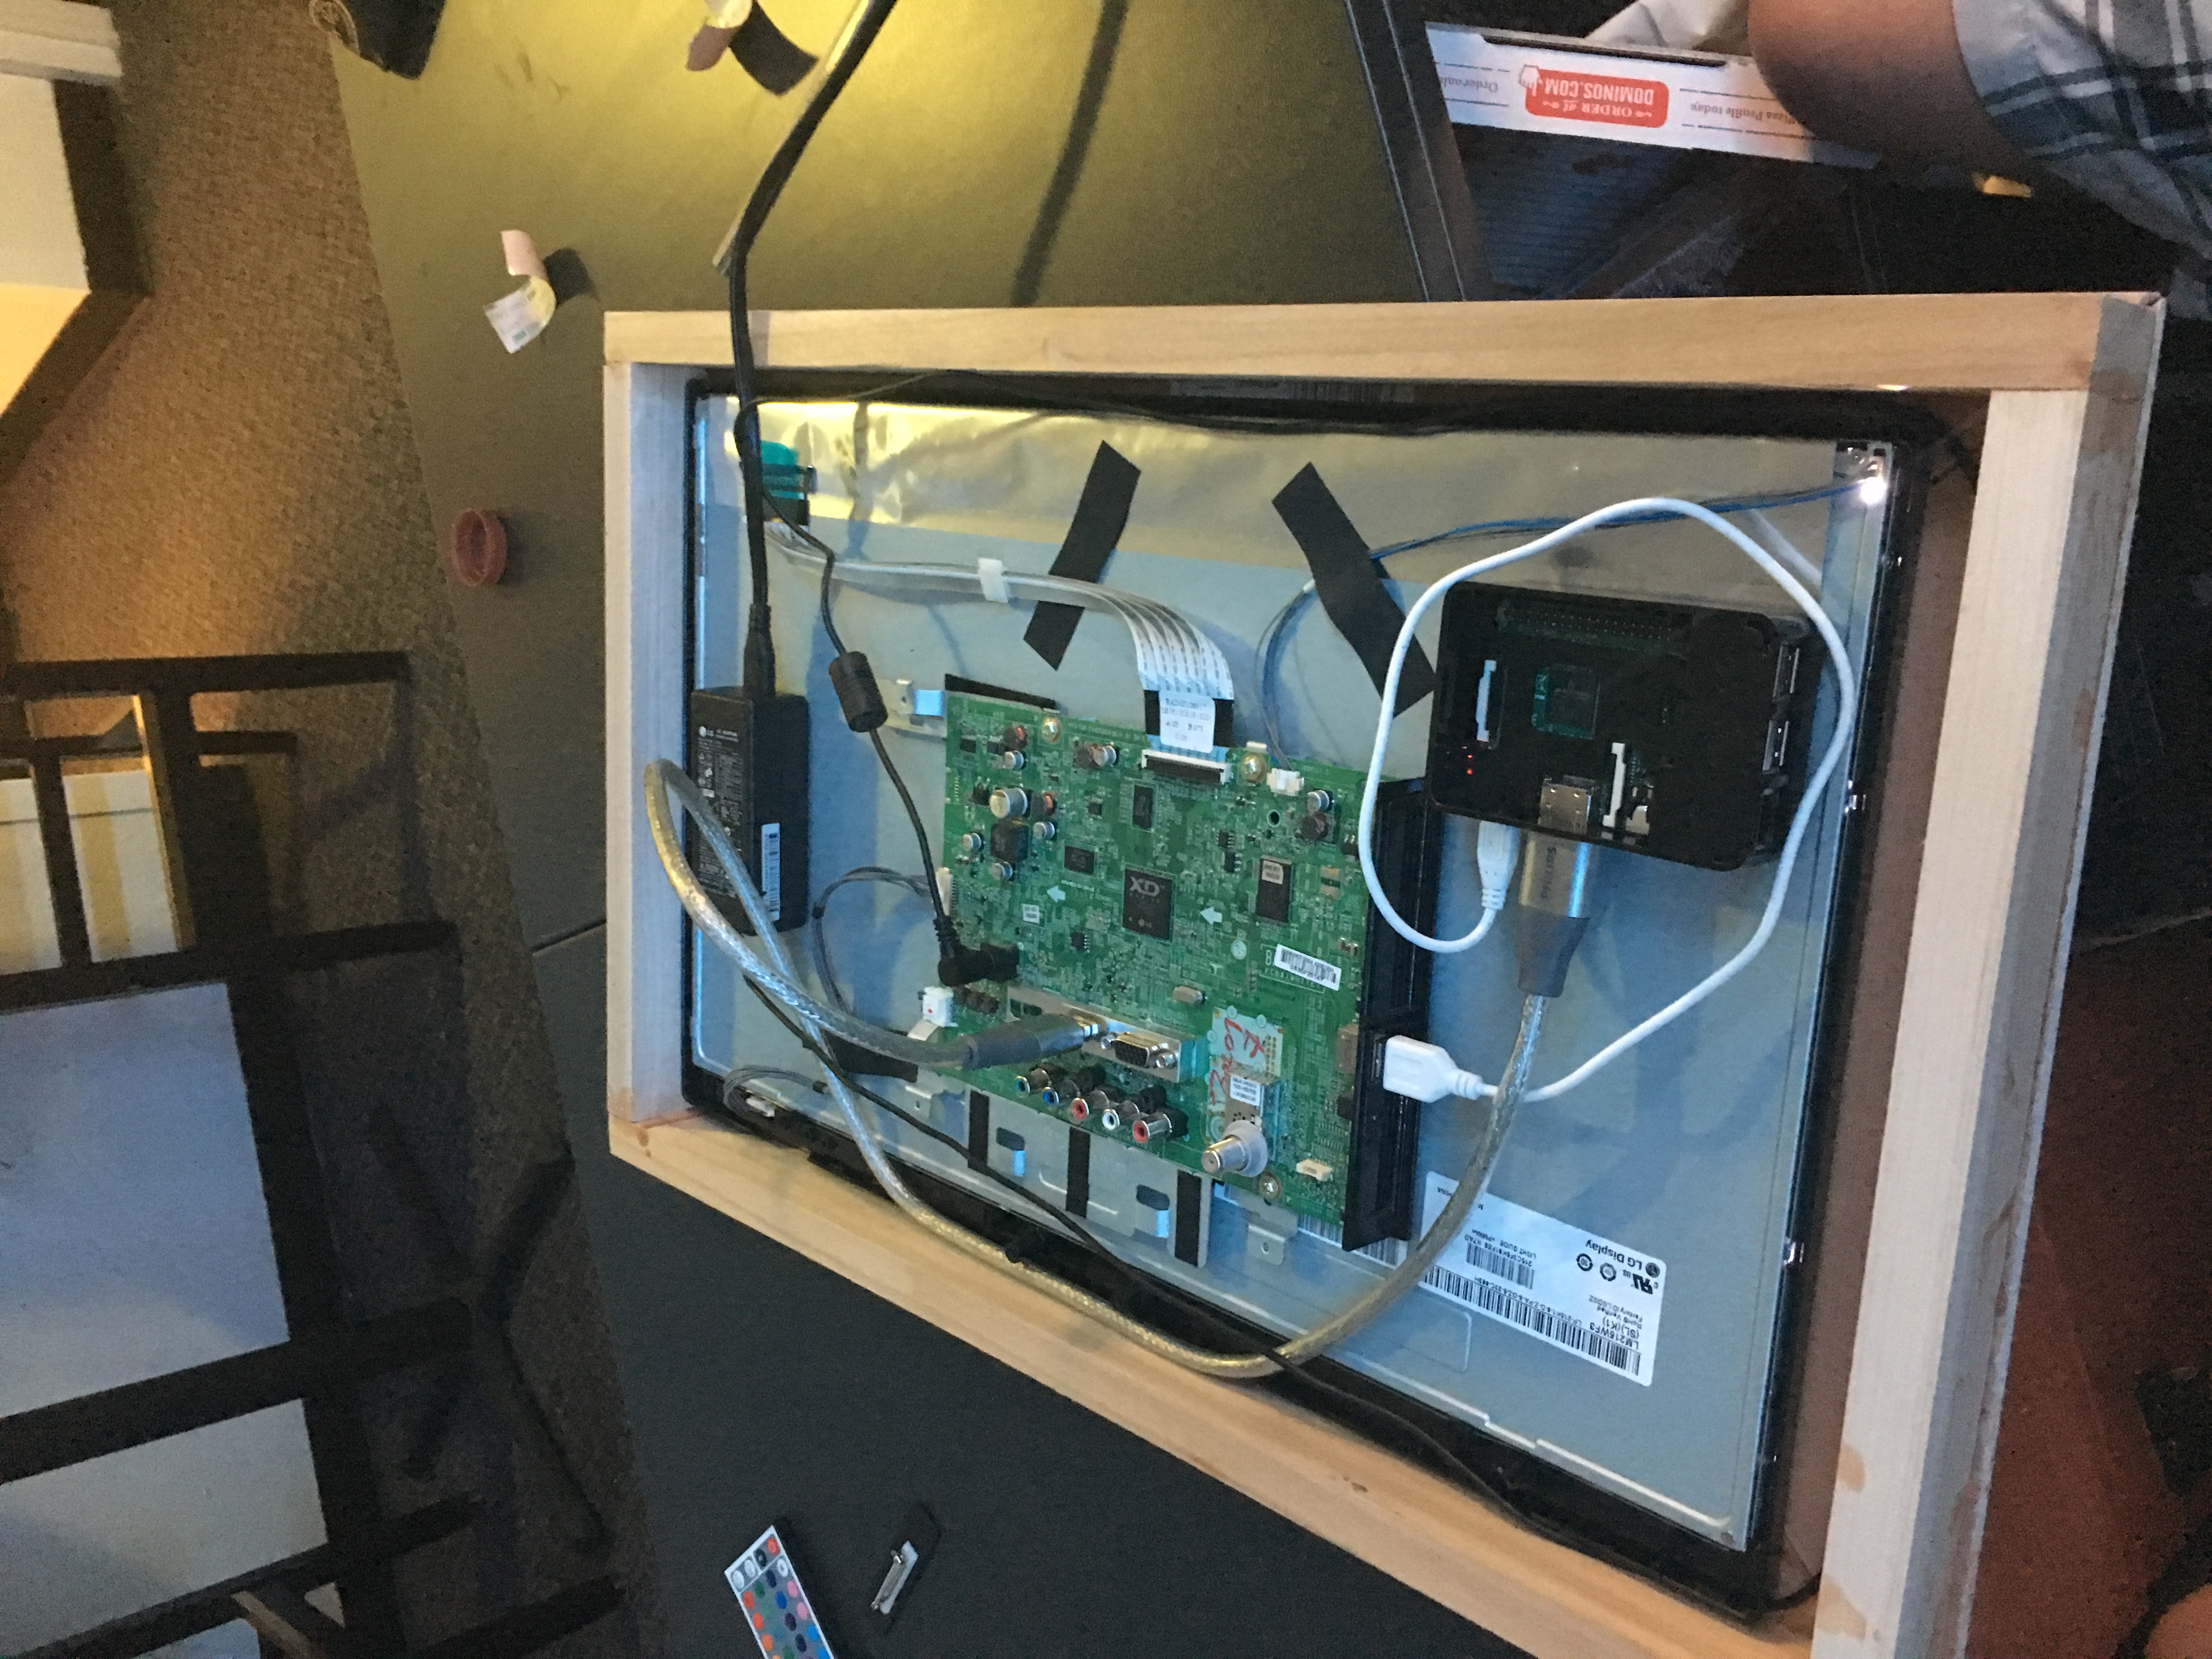
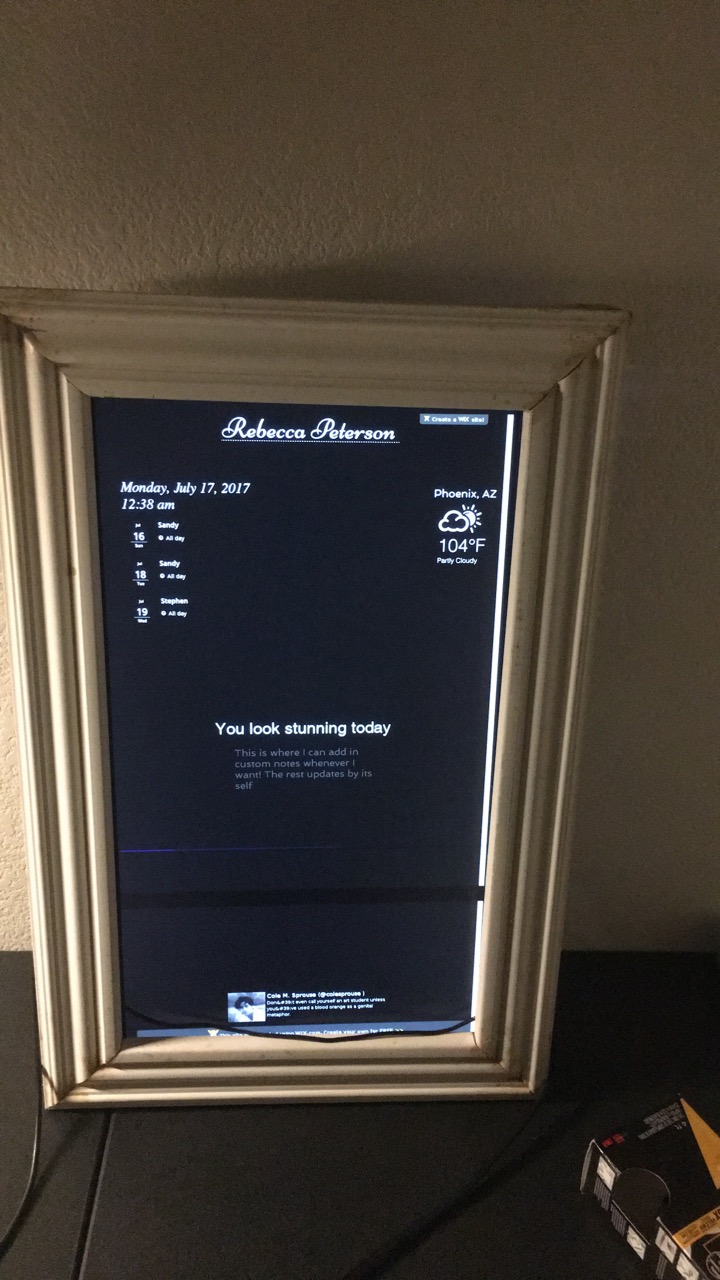
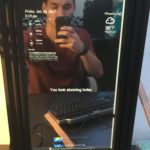
This past summer, I had created and designed a smart mirror for my girlfriend. This smart mirror appears to be a regular mirror until power on and can then display information and text behind the mirror. This was completed using a two-way mirror with a computer monitor secured behind it that would display any desired information. The monitor was powered by a raspberry pi and coded in python, which would automatically pull up a website when first turned on. This website was created using basic html and would display the time, weather, unread emails, personal twitter feed, calendar events and daily messages.
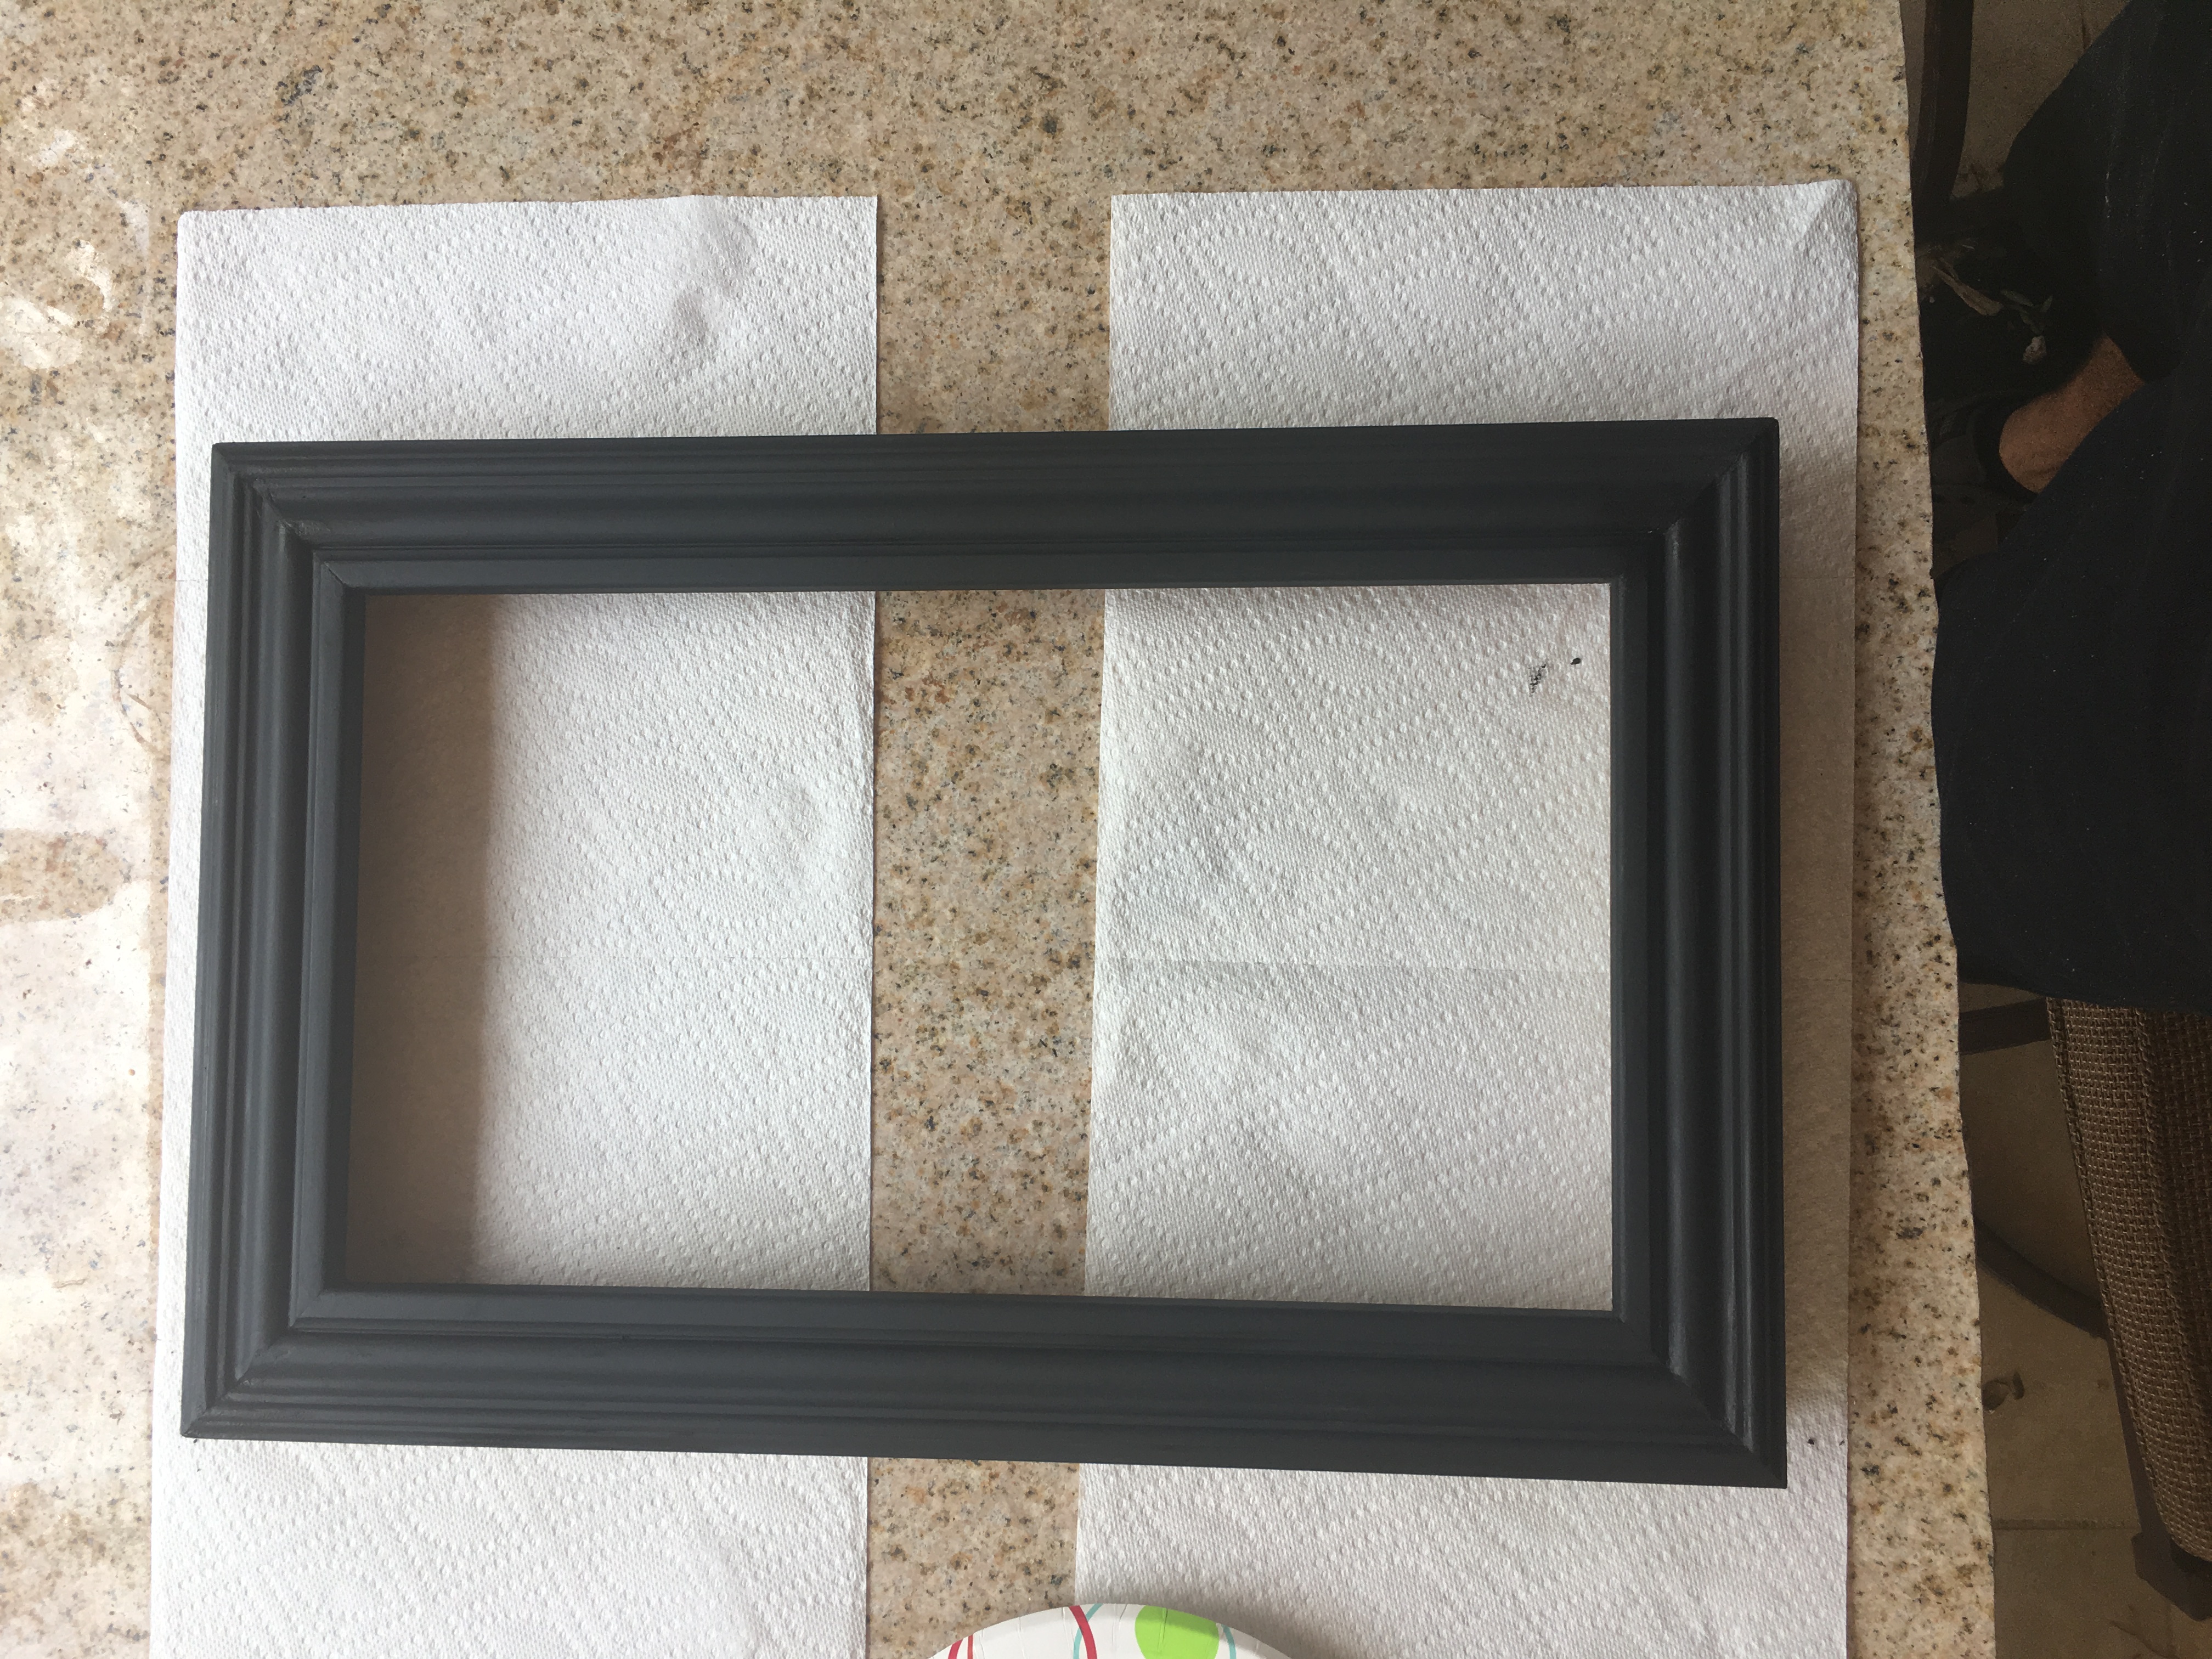
The first step was creating the website, and learning how to use basic html to display all the desired information. For the website, I had started with a black background that would display everything with a white text, making it seem like the text would be floating and appearing behind the mirror. Once the website was finished, the frame was built by hand sawing wood molding and gluing it to create a custom sized frame to perfectly hold and display the computer monitor. I then laser engraved a clear acrylic sheet to perfectly overlay the computer monitor and applied a two way mirror film to the surface of the acrylic. This made it appear like a regular glass mirror but also allowed the monitor to display the information from behind it. The raspberry pi was then installed and coded to connect to the internet and automatically open the website full screen.
The final result is a futurist mirror capable of providing daily information in a unique and interesting way.
Note: This was also duplicated to create and a smart mirror for Tooker House at ASU to welcome incoming freshman during move in weekend!
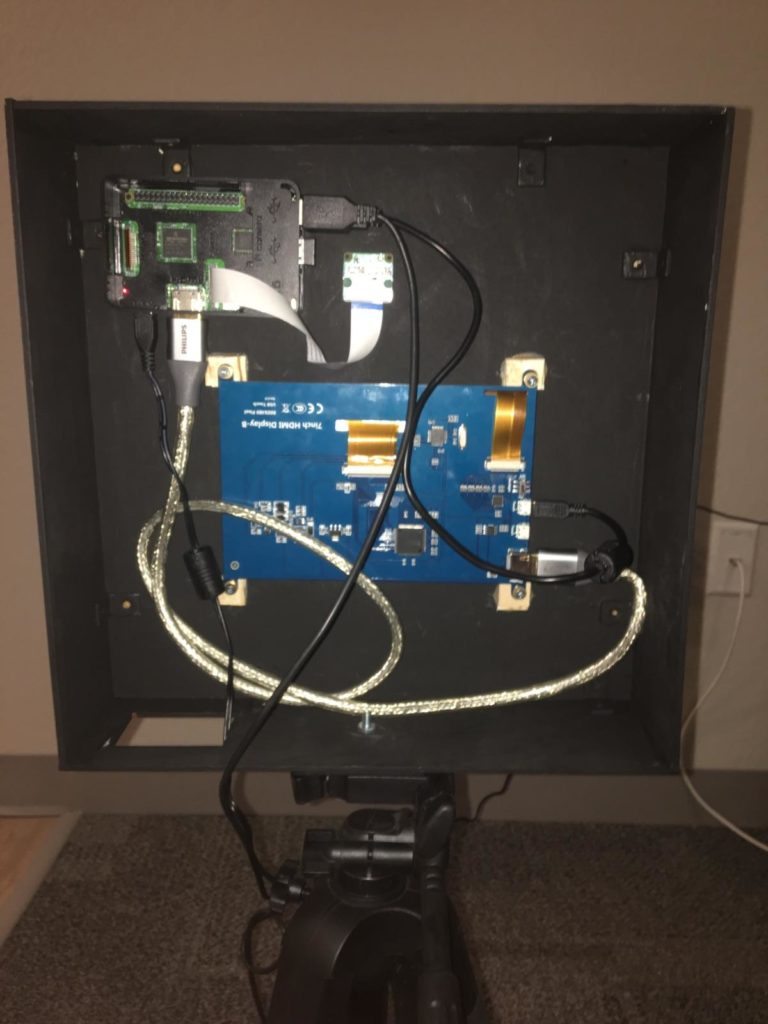
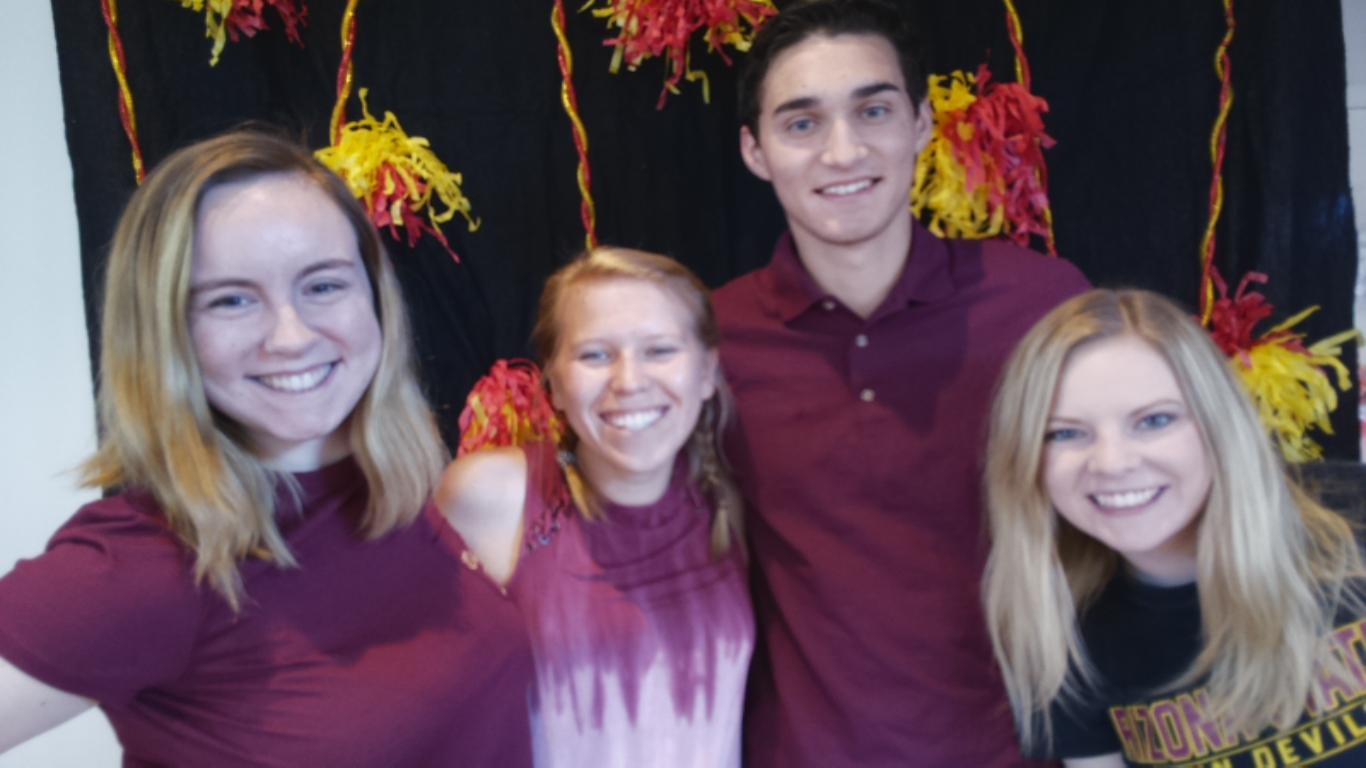
Raspberry Pi Photo Booth
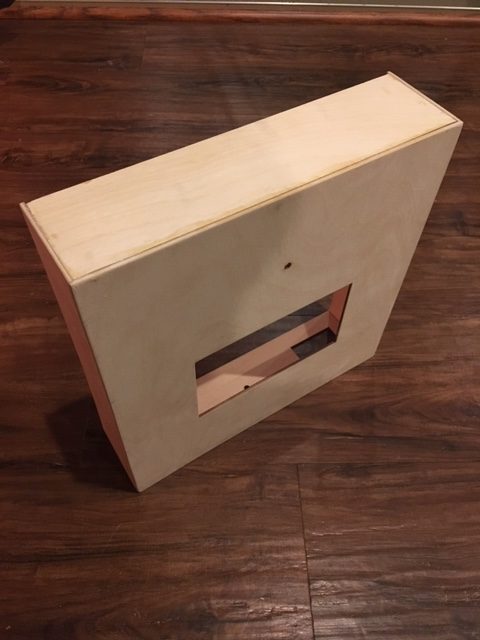
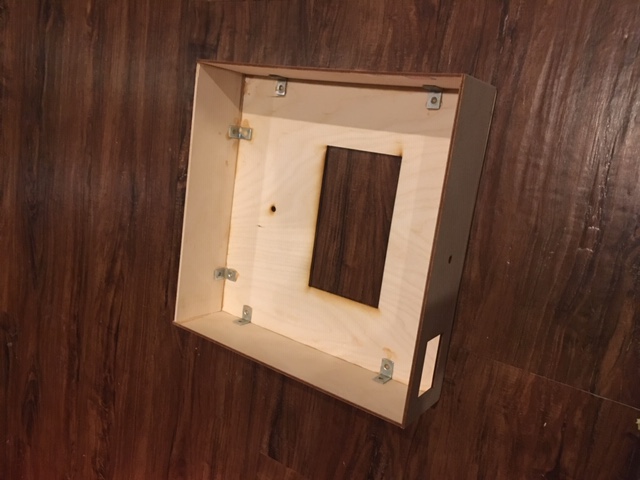
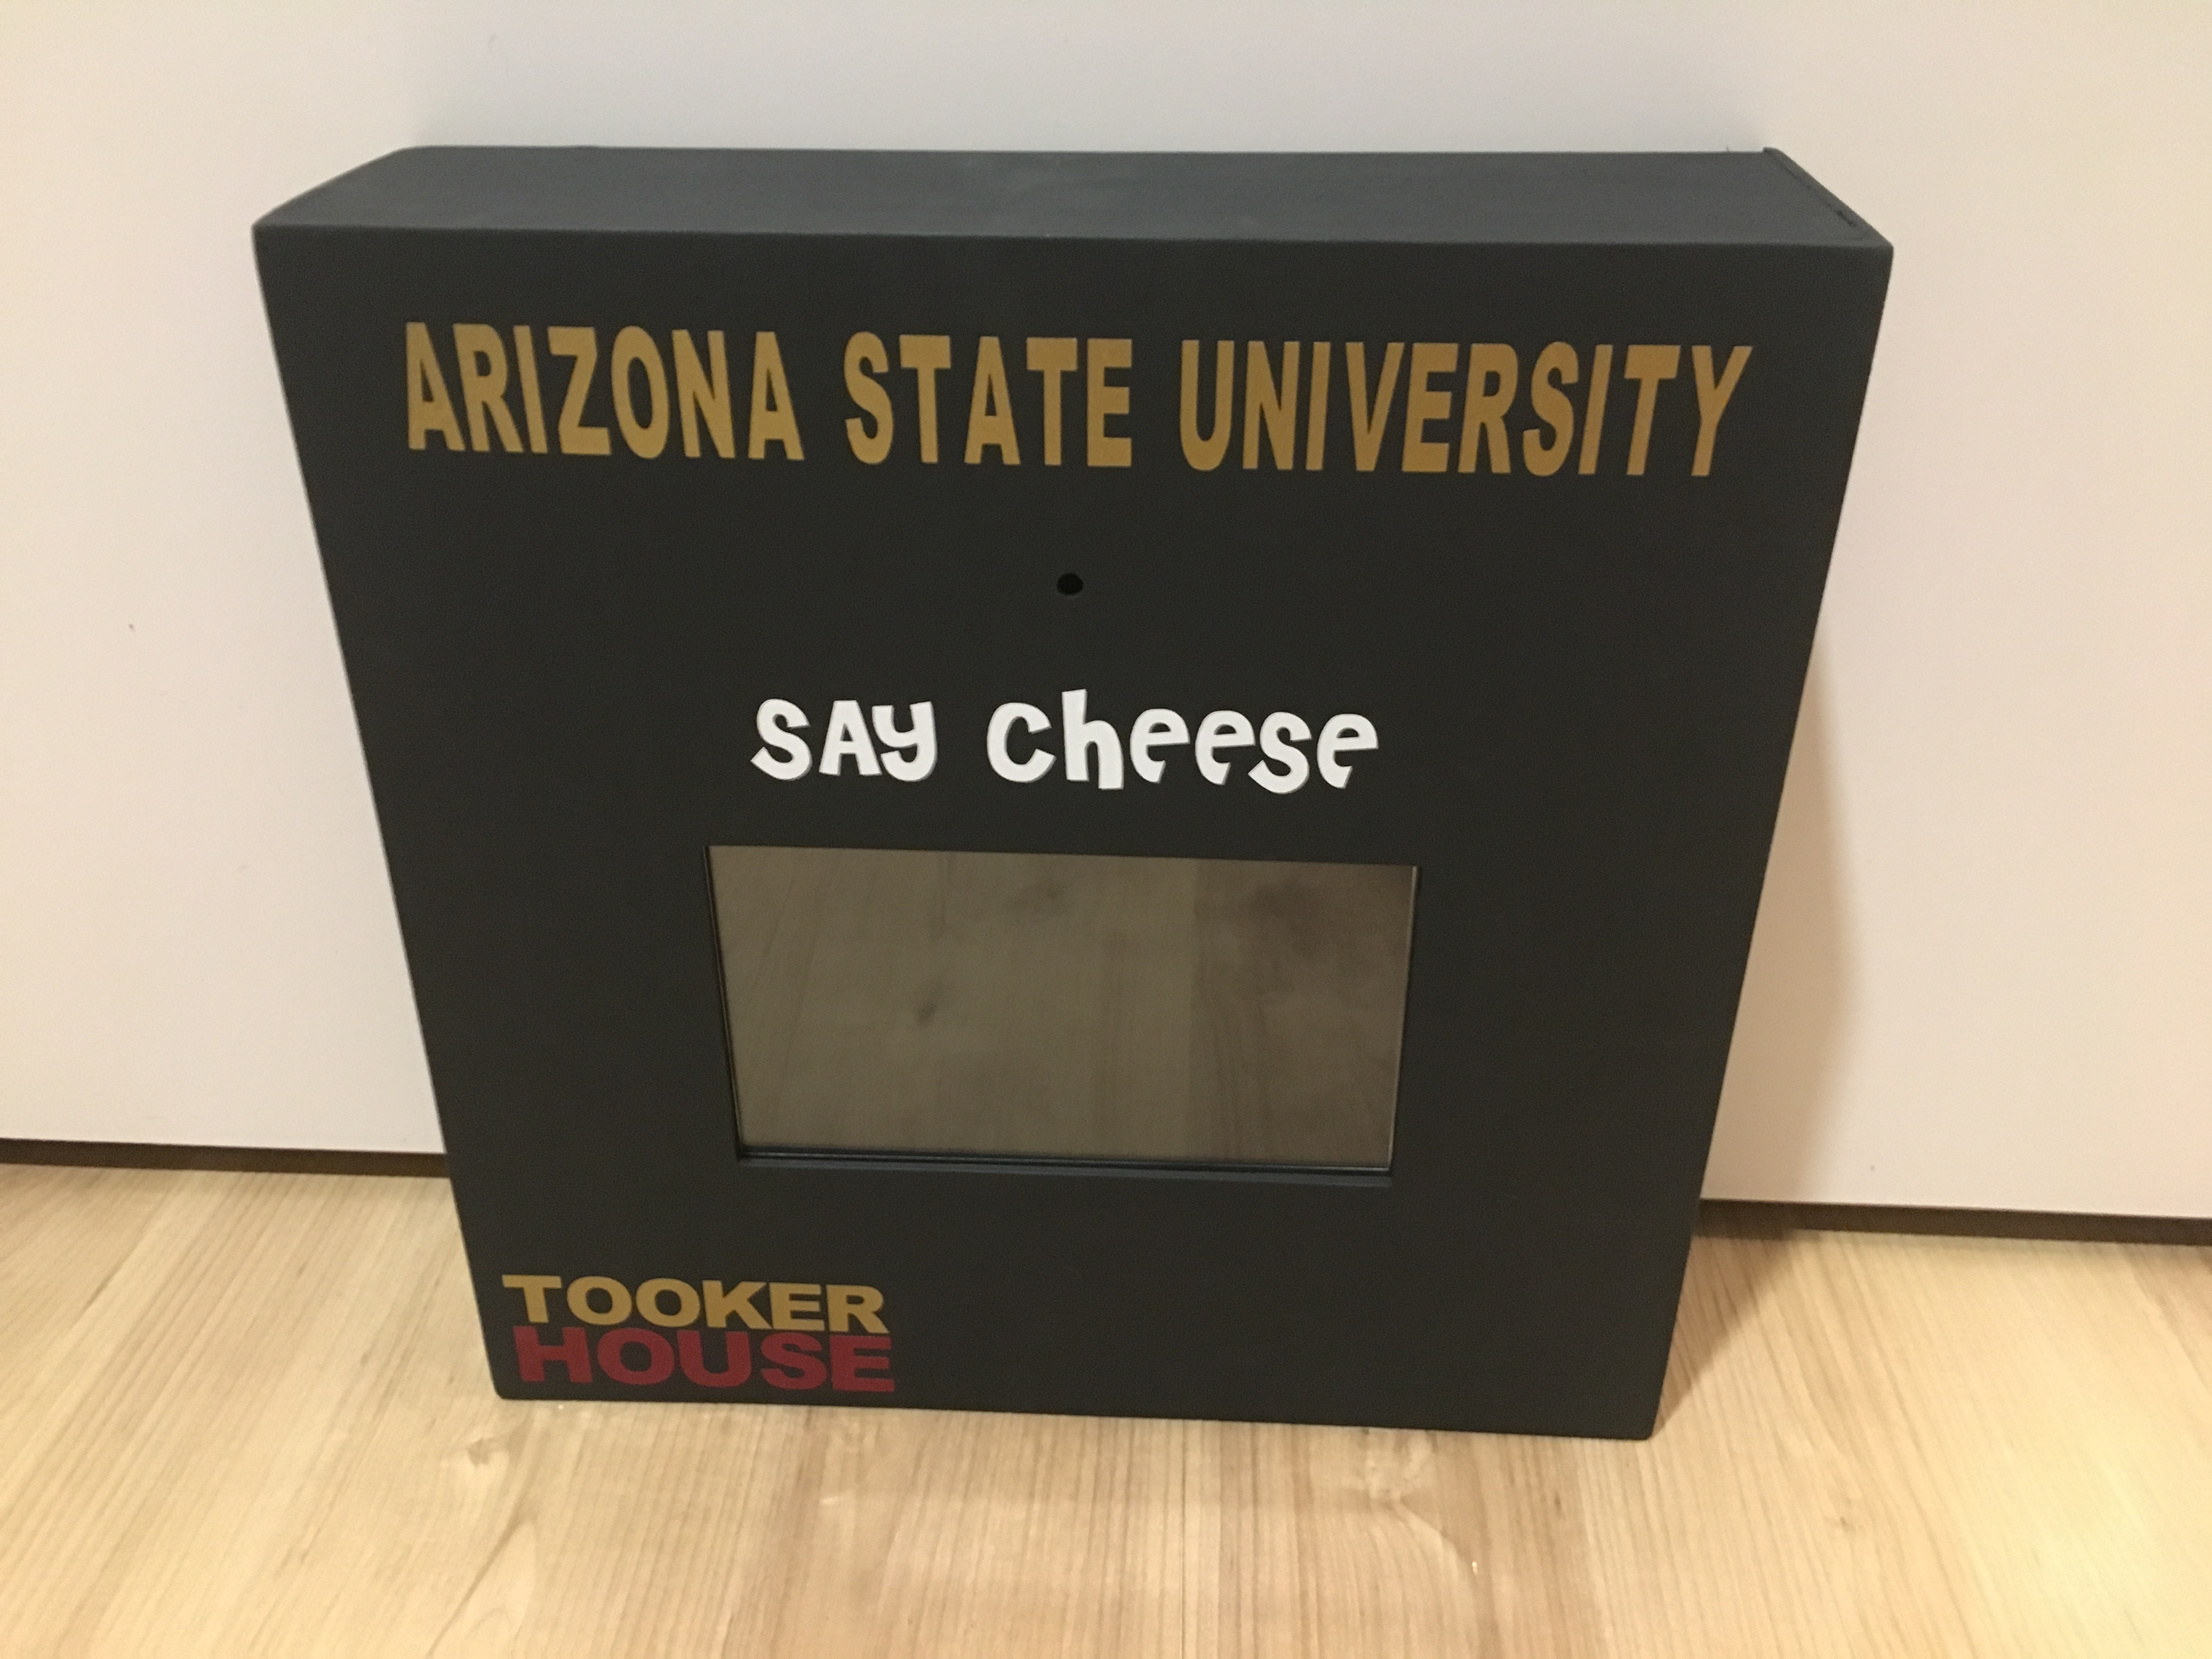
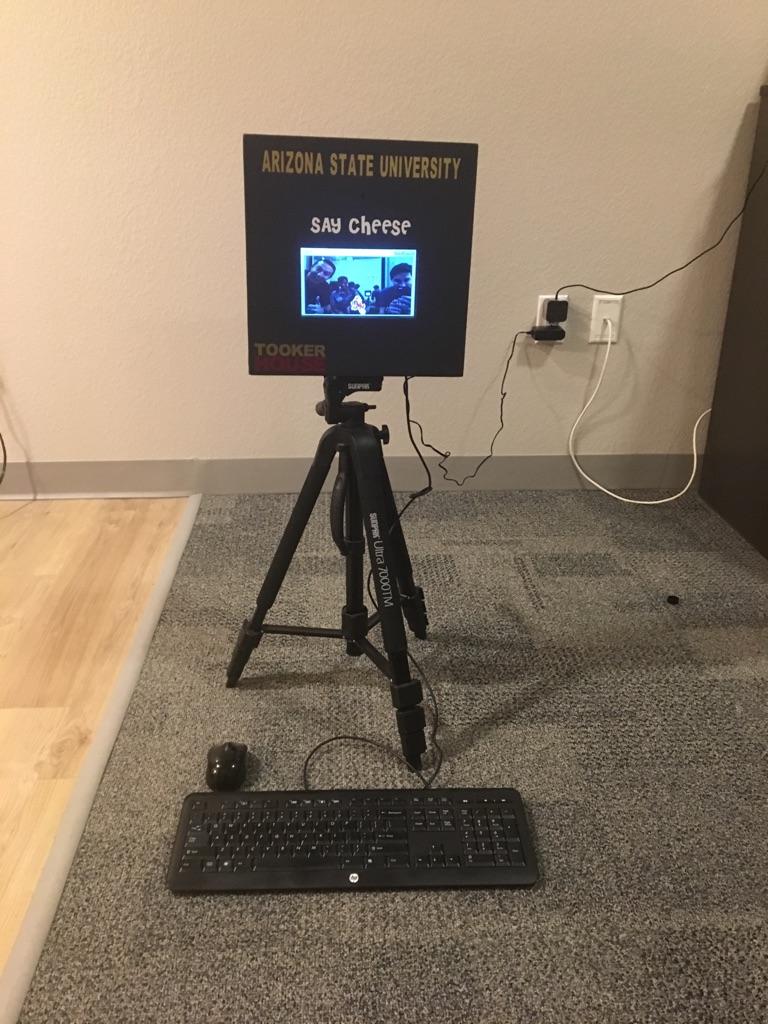
One of my more fun projects was creating a Raspberry Pi based Photo Booth for Family Weekend at Arizona State University. The photo booth runs off an open source python program called TouchSelfie that was edited to display ASU themed stickers and watermarks. I had also custom laser engraved plywood to create the frame and left the back open to display the inner workings of the photo booth. This was going to be used in the engineering dorms for freshman so it would be perfect to explain how it works! After I had sanded and painted the box, I had designed and cut out vinyl stickers to place on the front of it. I then installed a touch screen monitor on the front and attached the raspberry pi and supplied a power source. Hundreds of families came by to take a picture and got a taste of engineering while exploring their kids university!